Removing the crank from your bike is difficult, isn’t it? Especially when we don’t have all the tools we need. Puller is one of the tools. But no worries. We will be opening your crank without this fancy puller.
Why removes Crank?
Well, removing a crank isn’t easy for starters. If you have no experience in bike repairing then you shouldn’t try it all. If you know some basic repair of your bike then you can try it.
But without tools, it might seem impossible. There are some crank removal or extractor tool that is needed to remove the crank from your bike.
But here we will know how to remove a bike crank without a puller. I hope you will know how to remove, clean, repair, and replace the crank from your bike in an instant after finishing this article.
How do you remove the bike crank without a puller?
We are here to show you how you can remove your bike’s crank step by step. Anyone who doesn’t have a puller lying in his garage can do quick repairs whenever needed by following these steps and can save money by not going to a local mechanic bike shop.
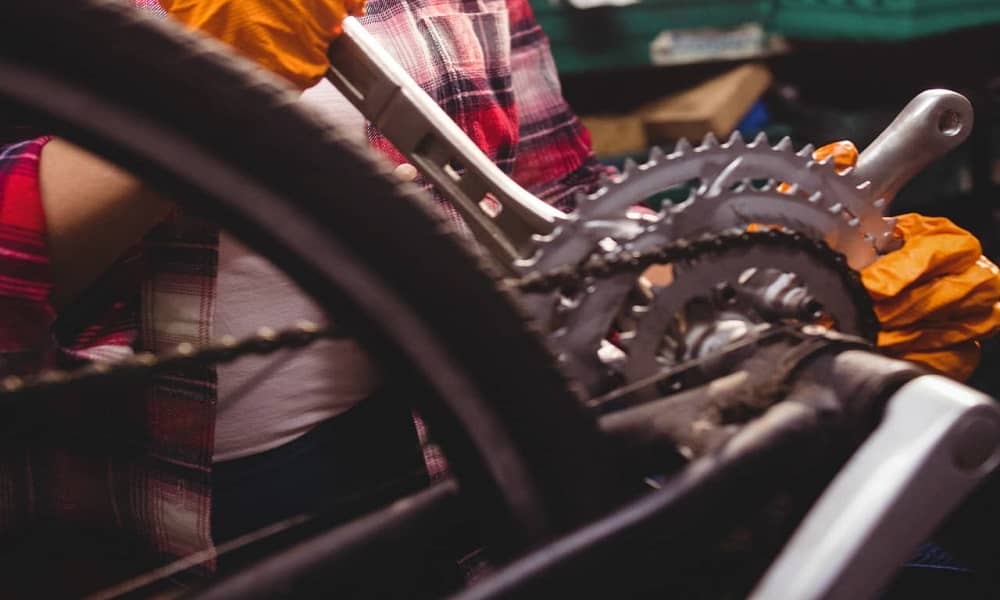
The first step of removing your bike’s crank is wearing hand protection
Wearing Hand Protecting
It is the most basic and starter tool you need to remove your crank. As the crank is heavy and its teeth are very sharp, the best way to touch it for removing is to wear gloves.
Some might think it is not a necessary step, but it is recommended as safety comes first. It will help you from a severe accident while working with the crank. When you leave your hand exposed, moving parts like crank and chain could cause an accident.
If you happen to have no gloves then you should at least try to remove the chain first or move it to outer gear. It is highly recommended.
Popping Out the Safety Tab
These are attached in the armholes to protect it from dust and grits. Most of these safety tabs are made of either plastic or rubber. Removing it is very easy. By using a flat screwdriver, you can easily remove it.
But be sure to be careful and gentle while opening it. It can easily be damaged or break if you are not careful.
Removing and Unscrewing the Crank Bolt
It’s the first step of releasing the crankset from the bike. It is very easy. Turning the nut or the bolt of the spindle’s end in the direction of counter-clockwise is all you need to do. But do it slowly to not cause any possible injuries.
The nut attaches the crank arm to the spindly. It will lose the bolt to remove the crankset.
A 14mm socket to achieve this aim is recommended.
Separating Washer
This step where you will be separating the washer from the cranks.
A washer is a small metal dish which has a center hole. Its function is spreading loads of the threads of the crank bolt and stop it from loosening.
It is usually located under the nuts of the crank. It can easily remove by a spanner tool.
Inspecting the Crank Bolt and Select the Correct Tool
Crank bolts and nuts come in different sizes. It is very important to inspect the crank bolt first. This will help you to choose the right tool to remove it.
For larger crank bolt such as M12 or M14, tools with a bigger tip like CCP-44 is recommended.
For smaller crank bolt like M8, you might need something with a small tip. A CCP-22 or CPW-7 might do the job easily.
Turning the Threaded Coupler
After the selection of the right tool, all you need to do is to turn the threaded coupler but very gently. You shouldn’t stop until the bolt recess. While doing it be sure not to cross the thread. It might wear off and damage the surface. All it to connect 22mm threads into arm completely.
A spanner or a screwdriver can do the job perfectly.
Threading the Puller’s Spindle Driver
After turning the threaded coupler of the puller all that remains to do thread the spindle of the puller into the lever arms. You can do this with your bare arm. Be cautious as you might need to utilize your arm’s strength more.
Simply sliding the driver into the given slot then turning it in an anti-clockwise direction. Do it meticulously and steadily until completely taut. Remember to check the tautness or tension as the loose drive could cause damage while riding the bike. Thus if it remains loose, tighten it.
Turning the spindle in a clockwise direction
After tightening the spindle driver completely, all you need to do to turn it in the clockwise motion. It will help you to completely disengage your arm. However, do this process meticulously.
Doing it quickly might not just cause an accident but also damage the crank itself. Now put the crankset aside.
Unthreading the crank puller tool
After the crankset is removed, now you have to unthread the crank puller tool away. It is highly recommended to take great care while removing tools. It poses harmful skin injury including the body. It is the last thing you want to worsen the situation together.
Repeating the process on the Other crank
You already know how to remove the crank as you have removed one side of the crank. All that remains the other side of the crank.
Just go ahead and start doing the same on the other side. Don’t forget to follow the same precautions. It will help you not complicating things.
FAQs
1. Tricks of removing crank without puller?
You know the tricks. All are described above.
2. How do you remove Shimano Crank without a tool?
Same as removing the normal a regular crank described above. But the steps might vary by the various crank.
3. How do you remove a bottom bracket without a tool?
You can’t do it for Square taper, isis or octalin type Bottom bracket. But for Outboard bearing type one, you can use a stilsen wrench. But it is not recommended to open a bottom bracket without proper tools.
4. How do you remove crank arms?
Removing the nuts that hold the crank arm with the crank will do the trick. Afterward just pull out the arm by hammering carefully.
Final Suggestion
Now you can remove the crank from your bike without any fancy tools like a puller by following these easy steps.
These simplistic specs with basic tools will help you out in rides and many other places where you can’t find or afford a puller. However, always take consultation from an expert if you are inexperienced in basic repairing.