You probably spend most of your life, having the thought that you can never remove your bike pedals without a pedal wrench. But having the right knowledge, without the right tool, a pedal wrench, it is still possible to take off your bike pedals with ease.
Bike repairs at home are a name of pain and hassle, especially when you are going to repair on your own. Missing the right tools, such as a pedal wrench is always possible. Why not, you don’t have to have every right tool for removing each of the parts from the bike. Let’s show you how to repair your bike without the right tools at home and lighten your bike repair hassle and worries.
Right down below, the step-by-step guide on how to remove your bike pedals without the right tool, the pedal wrench. Trust it, the repairing will be a total breeze. But first, you should probably know why you need to remove and replace your bike pedals.
Before learning how to remove your bike pedals, it is also important to discuss why you might need to replace your bike pedals first
Why do You need to change your bike pedals?
There could be many reasons why you need to change replace your bike pedals.
Cheap Bike Pedals that come with the bike
Standard bike pedals that usually come with the bike are not good as those are made of cheap plastic. It is a must to upgrade. Because those pedals are much more susceptible to damage as a result easily wear and tear than a pair of good pedals. It is just not only a quite eyesore but also will hamper your riding experience greatly.
Bike Pedals got wrecked or broken
Bike pedals can easily get wrecked or broken as it is always taking all your weights and sometimes taking hits from the obstacle of riding grounds.
If it gets broken or wrecked, it will make some noise, won’t roll well and moreover make your ride problematic. If this happens then it probably is time to change to a new pair of pedals and throw away the wrecked or damaged pedals.
Upgradation of the bike pedal
We all have outgrown our bike’s old pedals, but we never feel the importance of changing it unless it becomes completely useless. We should never settle for keeping a subpar pair of pedals. We all should upgrade bike pedals to a better, higher-quality pair. There are lots of options too. Take your time, research and take the pedal you think will best fit.
Change in Style
We all have changed our riding courses since we started riding our bikes. Over time, the course changes the track, so does our riding style. But have we thought of changing our pedals?
There is much more option to choose from, Clipless, flat or bear claw. Replacing the type of bike pedal could change your whole riding experience.
Whether you want a change in color, material or type of bike pedal, it doesn’t depend on the street bike, road bike or mountain bike either. A brand-new pair of upgraded bike pedals will always be a better experience.
Know that changing the bike’s pedal to a new one will change both the look and performance of your bike greatly.
How to Remove Bike Pedals without Pedal Wrench?
Step-by-Step guide
Step 1 | Position the Bike |
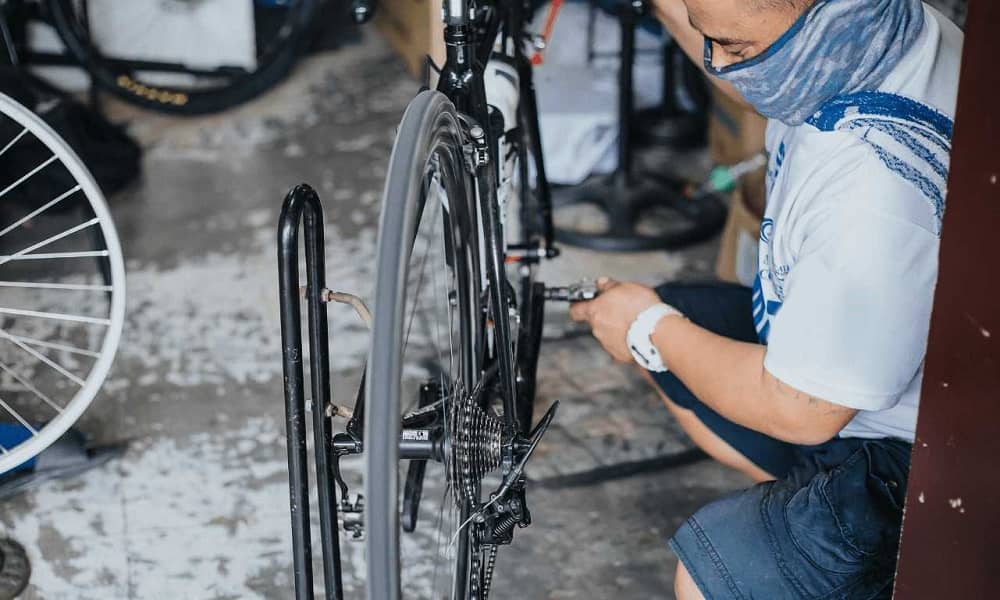
The first step is to place your bike in a place and position where you will have good access to the bike’s pedal position. You can invert your bike to gain easy access there. However facing the side of the bike where the drive train (Chain, Cassette) makes it easier. After placing the bike, a good fixed position, turn the crank to a 3-o’clock position.
Step 2 | Determine Pedal Size and Wrench Flat |
Now you have to determine the size of pedal flats or holes to find out the best fit of the wrench (Allen Key) size. As you don’t have the pedal wrench, we have to do the trick with a standard wrench. The standard 15mm open-end wrench will do this trick easily.
Now examine the pedal and be sure of it to have a wrench flat on the spindle where you can attach a wrench.
If the pedals don’t have a wrench flat, it will be unfortunate and the trick to open it without the pedal wrench won’t work. But almost all bike pedals have wrench flat.
Older mountain bikes or sometimes even old road bikes don’t have a standard 15mm Allen key wrench flat but an 8mm Allen key flat on the other hand.
After locating, the flat in the wrench spindle of the bike pedal main work starts.
Step 3 |Turning the Spindle|
As you don’t have a pedal wrench but the standard wrench the Allen key and find out the location of the spindle, now is the time to put the wrench (Allen key) directly into the spindle. It should fit perfectly and hang into it on its own.
After inserting Allen Key now is the time to move the pedal backward and rotate the spindle to unscrew it from the crank arm.
Keep in mind that the Left pedal loosens by turning clockwise and the right pedal loosens by turning counter-clockwise.
Step 4 | Getting on the Bike|
Now is the best part to get on your bike again. It is best to lose as much as leverage possible. So getting on the bike is the easiest idea. Put one foot onto the pedal and another on the ground surface.
Your foot should be on the bike pedal and the heel should be on the wrench. Then step down on your foot to put pressure directly onto the wrench itself. Give it as much weight force as you can. Eventually, it will start moving underneath and loosening the pedal.
Always be cautious to apply equal weight both on the bike pedal and wrench to ensure that the wrench doesn’t break. When you feel it loosening enough then you can remove the pedal easily.
Step 5 | Removing the Pedal |
Now you need to take your wrench and do one quicker loosen. You can do it with your bare hand. But do it steadily and firmly. Then just turn it until it fully screws right off.
Step 6 | Doing Same to the Other Pedal |
Repeat the same process on the other pedal. You know the full trick now. Just face that way while losing it to make it easier. And of course, know first which way you need to twist it.
Now you have both the pedal removed from your bike.
Do all these steps by taking outermost precaution, and do it as steady and firmly as possible to avoid hurting yourself and breaking anything.
What if the pedals don’t come off?
After trying all these steps and the pedals are still too tight as can be, then it is bad news. It means your pedal has been reversely threaded.
In this case, you have to twist your wrench it both sides to loosen the tight first. When you feel the pedals are loosening then you can unscrew the spindle from the crank. It is possible that your right pedal was threaded normally but the left is not. It could be reversely threaded which you are not used to.
First, try to determine which ways those have been threaded and start twisting it from there.
Things to keep in mind while removing pedal from your bike
The most important thing to know before you start is that the pedals do not bolt properly. As a matter of fact, not one of them. Though the pedal of the right side of your bike screws in like anything else, the pedal of the left side has a left-hand thread. It unscrews in the opposite direction that we normally are used to. Thus, you have to twist it clockwise to loosen it, and counter-clockwise to tighten it.
Things to do while inserting new pedal
- Right pedals tighten by turning clockwise, left pedals to tighten counter-clockwise.
- Screw-in until each pedal is fully inserted and tight; then hit the road.
Final Piece of Advice
The short, gradual and step-by-step guide to remove your bike’s pedal from your bike without pedal wrench ends here. Hoping that the guide furnished every other bit of information you might need to issue carefully for removing the pedals.
Not just you may need this information regarding removing the pedal, but many for not having the right tool. Again, know these steps well and why not try out yourself. After all, it is not as hard as it sounds.